You'll Be Glad You Called Us First!
Kitchen | Laundry Issues
Get the Service You Want and Need!
For Dependable and On-Time Service, You can Trust in Able Home Services
Your neighbors say it best! Just look at our reviews.
Kitchen and Laundry Troubles? Trust Us for the Right Solutions!!
We've made sure you can find important information you are looking for when it comes to plumbing issues in your kitchen and laundry areas. Follow any of the quick links below to learn some tips, advice and DIY! If the service needed goes beyond your capabilities, you can always reach us with a Button Click or Call us at the number below our logo!
Quick Category Links
The Plumbers At Able Plumbing Are Experts In Clearing Every Type Of Clogged Drain.
There are many possible reasons why a drain may block up, but some of the most common ones are:
- Hair and Soap Buildup: Hair and soap are often the main culprit of clogging bathroom drains, especially in showers, bathtubs, and sinks. Hair can get tangled up with soap and other substances, forming a sticky mass that can block the water flow. Soap can also leave a residue that can coat the pipes and trap other debris.
- Food Waste and Grease: Food waste and grease can easily clog kitchen drains, especially if they are not disposed of properly. Food particles can accumulate in the pipes, creating a breeding ground for bacteria and odors. Grease can solidify and stick to the pipes, reducing the diameter and causing blockages.
- Foreign Objects: Sometimes, foreign objects, such as jewelry, screws, or other foreign objects, can accidentally fall or be flushed down the drains, causing obstructions. These objects can be too large or too heavy to pass through the pipes, and they can also damage the pipes or the drain system.
- Tree or Plant Roots: Roots can grow into the pipes, especially if there are cracks or leaks in the pipes. Roots can act like a net, catching and holding other materials that go down the drain. Roots can also cause the pipes to collapse or burst, leading to serious blockages and damage to the property.
When the water starts backing up it's time to get the professionals at Able Plumbing involved. Call Us or Request Service Online today!
Common Faucet Issues and How to Address Them
- Leaky Faucet: A dripping faucet is not only annoying but can also lead to significant water wastage. Often, the culprit behind a leak is a worn-out washer or O-ring. Replacing these components, which involves disassembling the faucet handle, can usually resolve the issue.
- Low Water Pressure: If your faucet's water flow has weakened, the problem might lie in the aerator—the screen at the faucet's tip. Mineral deposits can build up here, obstructing water flow. Unscrewing and cleaning the aerator with vinegar or a commercial cleaning solution can often restore normal water pressure.
- Handle Leaks: Sometimes, water may leak from around the faucet handle rather than the spout. This issue typically indicates a problem with the packing nut or the cartridge. Tightening the packing nut or replacing the cartridge should fix the leak.
- Squeaky Handle: A handle that makes noise when used may need lubrication. After dismantling the handle, apply a small amount of silicone-based lubricant to the stem's moving parts.
Tools and Materials Needed for Faucet Repair
- Adjustable wrench or set of wrenches
- Screwdrivers (both Phillips and flat-head)
- Replacement parts (washers, O-rings, cartridges, depending on the issue)
- Plumber's tape
- Silicone-based lubricant
- Vinegar (for cleaning mineral deposits)
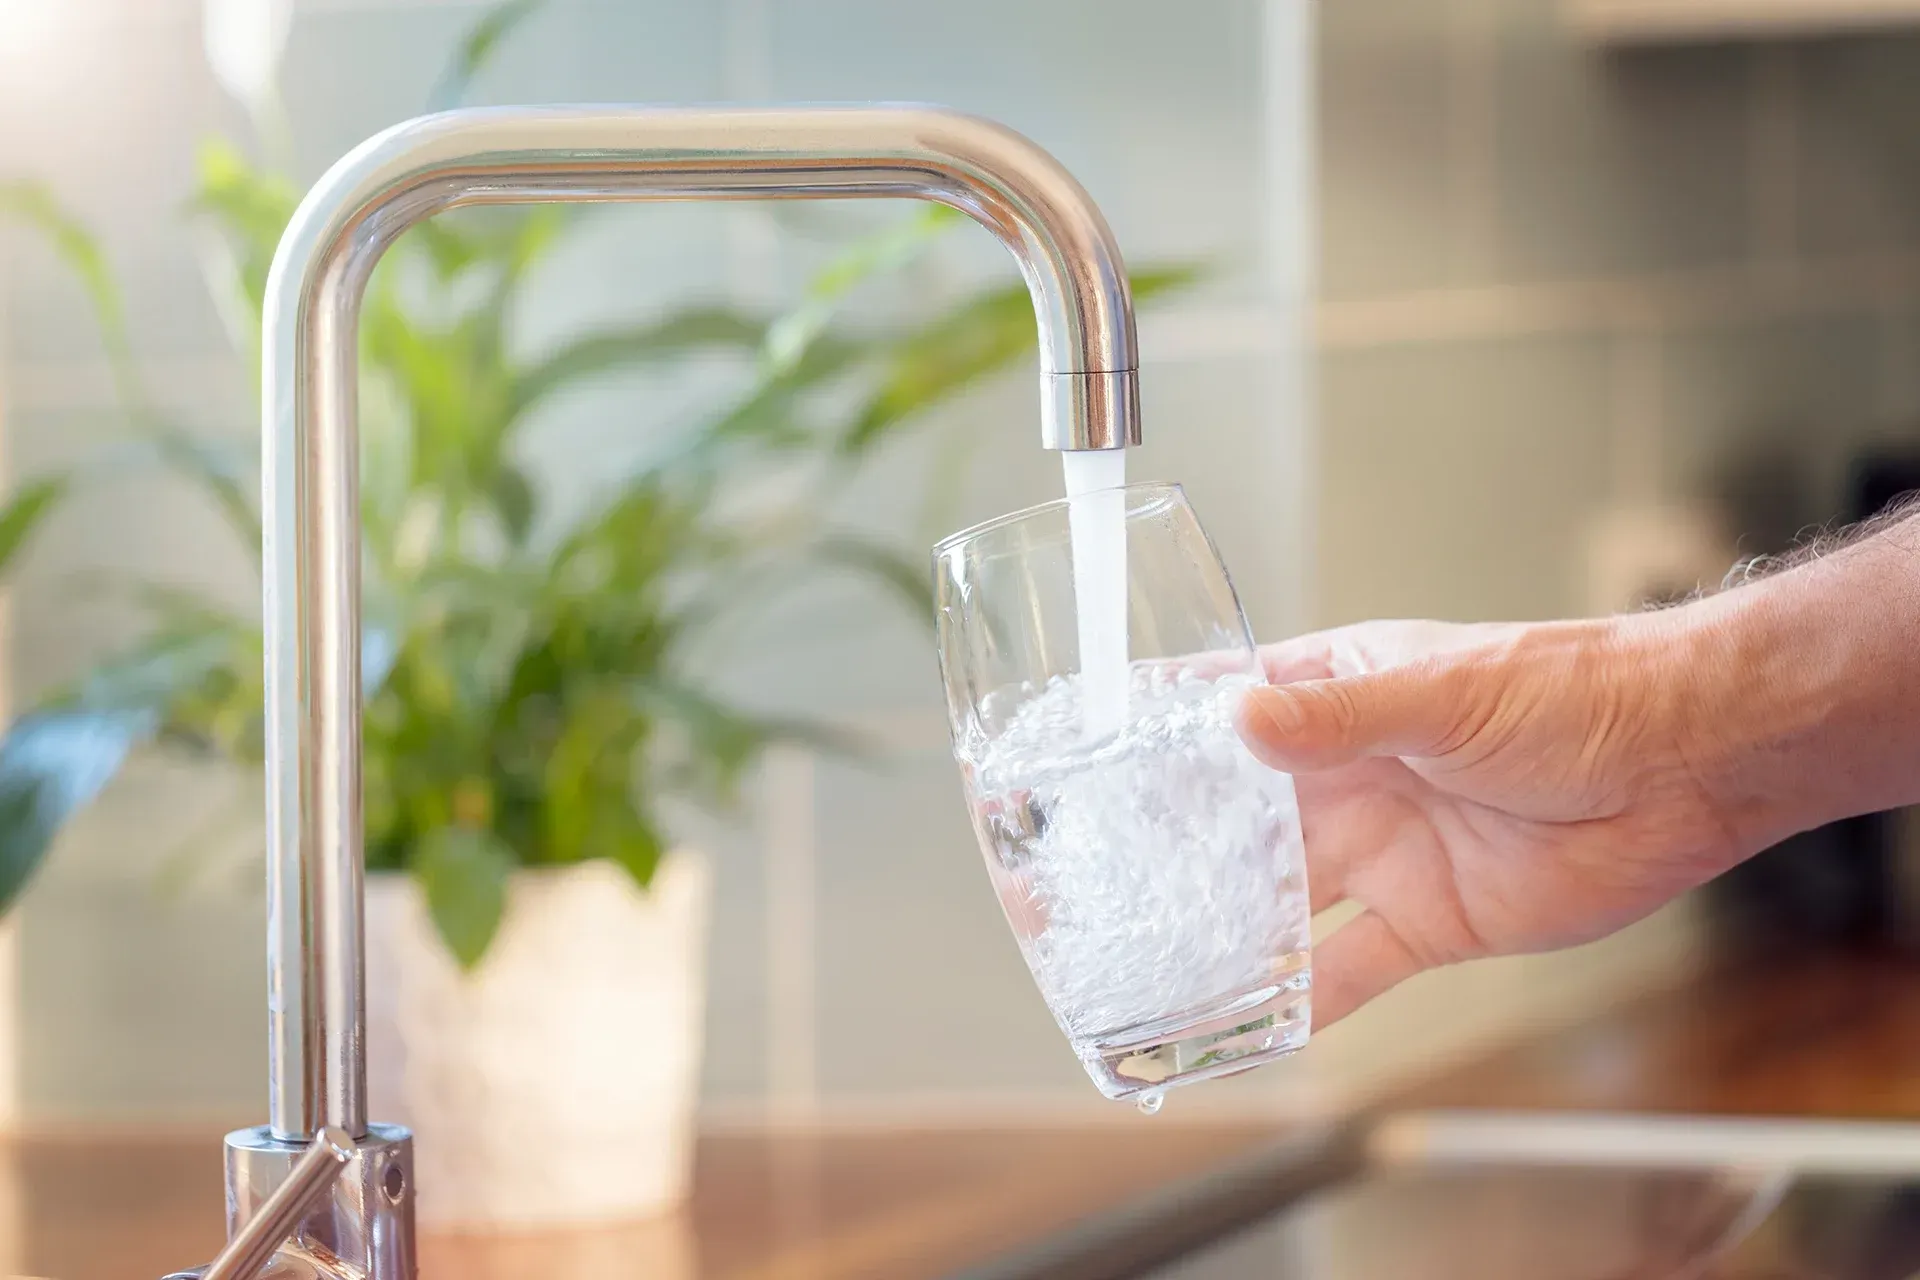
Understanding Water Contaminants and Treatments/Filters for Them!
Water can contain various contaminants that affect its taste, smell, and safety. These include:
- Chemical Contaminants: Pesticides, herbicides, and industrial chemicals can seep into water supplies, posing health risks.
- Heavy Metals: Lead, mercury, and arsenic, among others, can be present in water due to old piping systems or environmental pollution.
- Biological Contaminants: Bacteria, viruses, and parasites can contaminate water, leading to illness.
- Minerals: While some minerals are beneficial, excessive amounts can cause hard water, leading to scale buildup and affecting appliance efficiency.
Several systems are designed to remove contaminants and improve water quality, each with its specific focus:
- Activated Carbon Filters: These filters remove organic compounds, chlorine, and chemicals, improving taste and odor.
- Reverse Osmosis (RO) Systems: RO systems are effective at removing a wide range of contaminants, including heavy metals, chemicals, and some bacteria, by passing water through a semipermeable membrane.
- Water Softeners: Primarily used to treat hard water, water softeners exchange minerals like calcium and magnesium with sodium or potassium, preventing scale buildup.
- Ultraviolet (UV) Purification: UV light treatment kills bacteria and viruses, making it an excellent supplement to filtration systems for ensuring microbiological safety.
- Whole-House Filters: These systems treat all the water entering a home, providing comprehensive protection against contaminants.
Benefits of Insta-Hot Water Systems
- Immediate Access to Hot Water: Whether you're preparing meals, sterilizing dishes, or tackling stubborn laundry stains, instant access to hot water saves time and simplifies tasks.
- Energy Efficiency: By providing hot water on demand, insta-hot systems reduce the energy wasted in heating and reheating water in a traditional tank system, potentially lowering utility bills.
- Water Conservation: These systems help conserve water by eliminating the need to let the tap run while waiting for hot water to reach the desired temperature.
- Space-Saving: Most insta-hot water systems are compact and can be easily installed under a sink, saving valuable space in kitchens and laundry rooms.
Types of Insta-Hot Water Systems
- Point-of-Use Tankless Models: These electric units heat water directly as it flows through the device, providing an endless supply of hot water without the need for a storage tank.
- Hot Water Dispensers: Designed specifically for kitchens, these systems typically include a small under-sink tank that keeps water hot and ready for use, dispensing it through a dedicated faucet at the sink.
- Integrated Systems: Some insta-hot systems are designed to work with your home's existing plumbing, providing localized hot water solutions without requiring a separate installation.
Installation Considerations
- Capacity and Demand: Assess your hot water needs to choose a system with the appropriate capacity. Consider peak usage times and the number of tasks requiring instant hot water.
- Energy Source: Most insta-hot systems are electric and may require an additional electrical outlet under the sink. Ensure your electrical system can accommodate the added load.
- Space Requirements: Although compact, ensure there is sufficient space under your sink for the unit, especially if you're integrating it with existing plumbing or disposal systems.
- Professional Installation: For optimal performance and safety, professional installation is recommended. A qualified technician can ensure the system is correctly installed and integrated with your home's plumbing and electrical systems.
How Do You Clean A Garbage Disposer?
Cleaning your garbage disposal is essential to maintain its efficiency and prevent unpleasant odors. Here’s a step-by-step guide on how to do it:
- Disconnect the Power: Safety first! Cut the power leading to your garbage disposal. Unplug it from the outlet under the sink or turn off the electricity from the breaker box. Double-check that you’ve disconnected the right circuit before proceeding.
- Clean the Splash Guard: The rubber splash guard (also called a gasket or baffle) traps food particles and grease. Remove it from the drain and scrub it thoroughly with an old toothbrush and dish detergent. Pay attention to the underside to remove any debris or slime.
- Remove Visible Debris: While the splash guard is out, shine a flashlight into the disposal. Check for any food particles that may be eluding the grinder. Use tongs or pliers (never your fingers!) to reach into the disposal and remove any remaining food pieces.
- Deodorize with Baking Soda and Vinegar: Pour half a cup of baking soda into the disposal. Follow it up with half a cup of vinegar. Let this mixture sit for about 30 minutes to deodorize and break down residue. Rinse with cold water to flush away the loosened debris.
Common Causes of Drain Leaks
- Worn Out Seals: Over time, the seals around the sink drain or garbage disposal can wear out and crack, leading to leaks.
- Loose Connections: Connections between sinks and the drainpipe or the dishwasher and the drainage system can loosen, especially with frequent use.
- Corrosion: Pipes and fixtures can corrode over time, especially if they are old or if the water has a high acidity level.
- Clogs: Severe clogs can cause water to back up and exert pressure on the pipes, leading to leaks at weak points.
Identifying Drain Leaks
- Visual Inspection: Regularly check under the sink for any signs of moisture or water pooling.
- Sound: Listen for dripping sounds when the sink is not in use.
- Smell: A musty or moldy smell under the sink can indicate a slow leak that has gone unnoticed.
- Dye Test: For a more precise inspection, you can place a few drops of food coloring in the sink filled with water. Check the cabinet below for any signs of the dye, which would indicate a leak.
Preparing to Install a Sink
Installing a new kitchen sink and faucet can give your kitchen a fresh look and improve its functionality. However, before you start the project, you need to prepare the necessary tools and materials, and follow some basic steps to ensure a successful installation.
Tools and Materials
To install the plumbing for a kitchen sink, you will need the following tools and materials:
- A kitchen sink and faucet of your choice
- A tape measure, a pencil, a straightedge, and a drill with a spade bit
- A jigsaw, a hammer, and a screwdriver
- A wrench, a pair of pliers, a pipe cutters (for metal and plastic)
- A kitchen-sink strainer or pop-up assembly for the bathroom sink (usually comes with the faucet), some plumber’s putty, and silicone caulk
- A copper pipe, a brass pipe, shut-off valves (for hot and cold), and some compression fittings
- Some ABS pipe (or tubular), a trap adapter, a swivel P-trap, a mini-vent valve, and assorted fittings, and some ABS glue
Refrigerator Ice-Maker Services
Regular Maintenance for Optimal Performance
- Change Water Filters Regularly: Many refrigerators with ice makers have an integrated water filtration system. Replacing the water filter as recommended by the manufacturer (usually every six months) ensures clean water for ice production and can prevent clogs in the water line.
- Clean the Ice Bin Regularly: Remove the ice bin periodically and wash it with warm, soapy water. This prevents ice clumping and ensures the ice tastes fresh. Make sure the bin is completely dry before reinstalling it.
- Inspect the Water Supply Line: Check the line for kinks or bends that could restrict water flow to the ice maker. If your refrigerator is pushed too far back against the wall, it might pinch the water line.
Common Ice Maker Problems and Solutions
- Ice Maker Not Producing Ice: This could be due to a clogged water filter, an issue with the water supply line, or a malfunctioning ice maker switch.
- Solution: Replace the water filter, inspect the water supply line for kinks, and ensure the ice maker is turned on. If the problem persists, the ice maker or its water inlet valve may need repair or replacement.
- Ice Tastes Bad: Stale or contaminated water, or residue in the ice bin, can affect ice taste.
- Solution: Replace the water filter and clean the ice bin. If using an old or improperly stored water line, consider replacing it to ensure water quality.
- Ice Clumps in the Bin: This is often due to infrequent use of the ice maker, causing ice to partially melt and refreeze.
- Solution: Regularly use the ice and remove clumps by breaking them apart. If the issue is due to a leaking ice maker, a professional repair may be necessary.
- Water Leaking from the Ice Maker: Possible causes include a faulty water inlet valve, a clogged defrost drain, or a cracked ice maker mold.
- Solution: Inspect the water inlet valve for leaks and replace if necessary. Check and unclog the defrost drain if blocked. If the ice maker mold is cracked, the ice maker will likely need to be replaced.
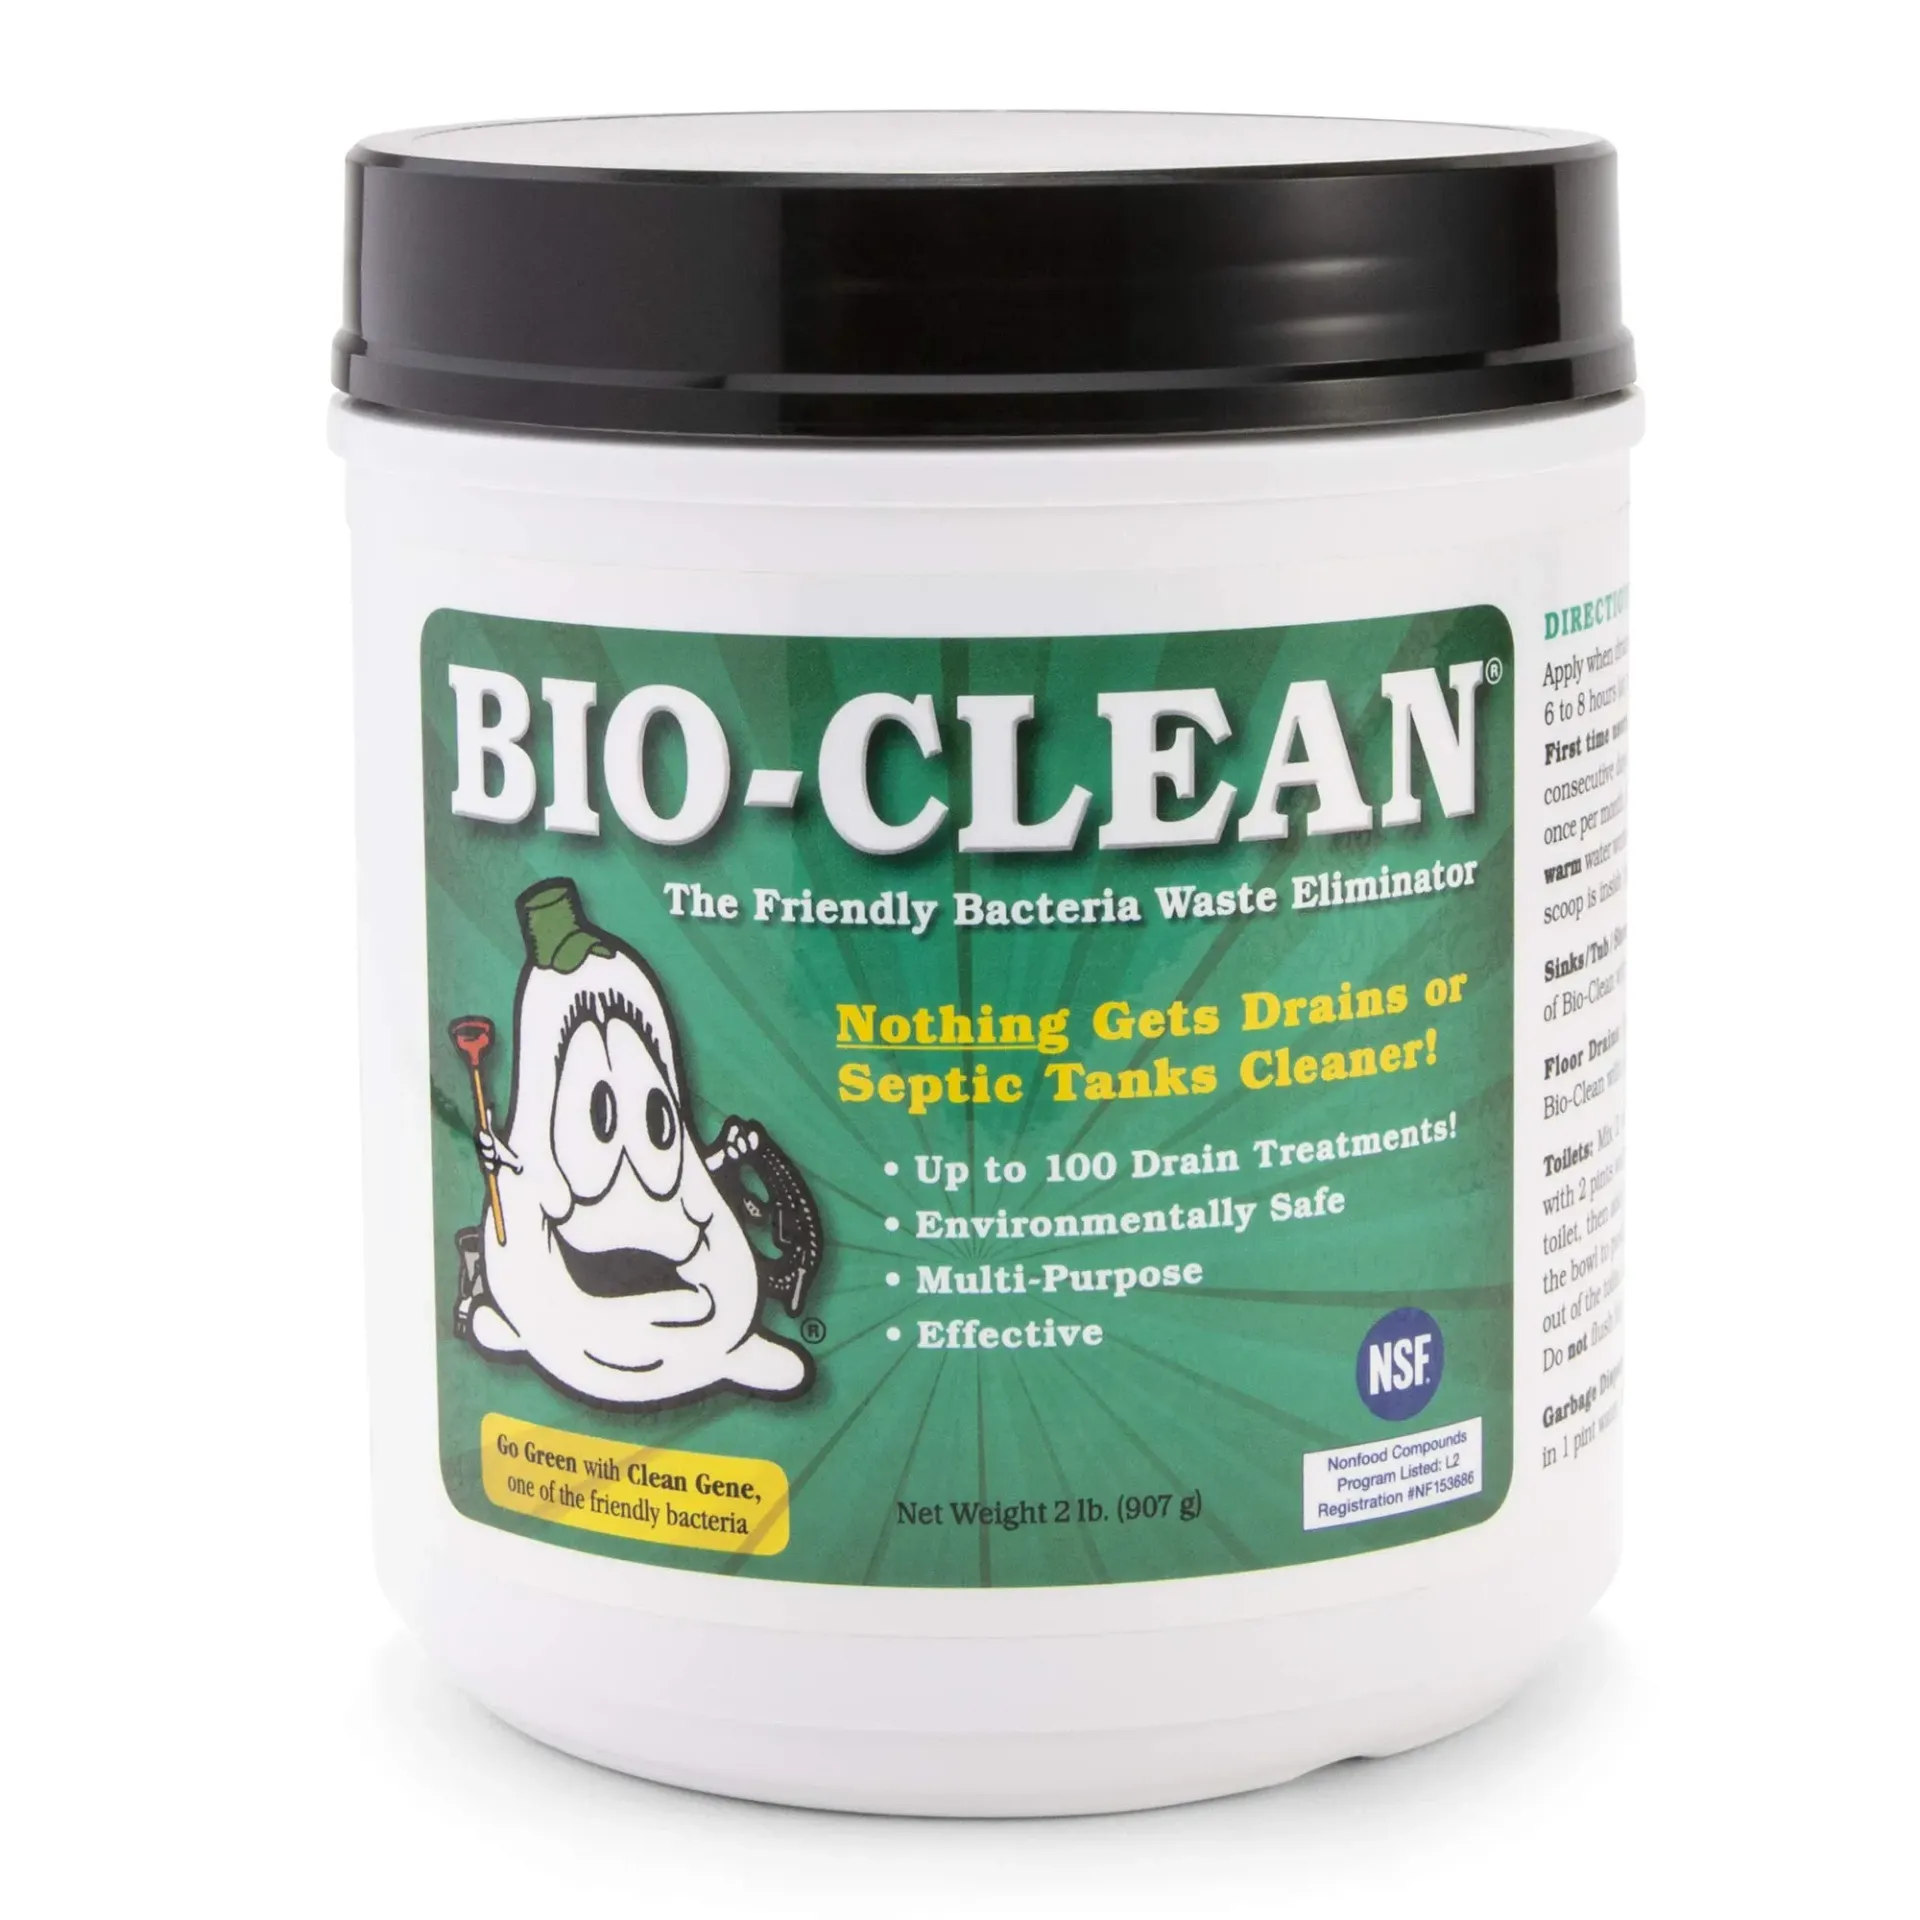
Benefits of Bio-Clean for Drain Maintenance
- Safe for Pipes and Septic Systems: Bio-Clean uses a special blend of natural bacteria and enzymes to digest organic waste such as food particles, grease, hair, and soap scum. Unlike chemical drain cleaners, it's safe for all types of plumbing and septic systems, reducing the risk of damage to pipes.
- Environmentally Friendly: As a natural product, Bio-Clean is environmentally friendly, making it an excellent choice for households looking to reduce their ecological footprint. It doesn't contain harmful chemicals that can leach into groundwater or disrupt the balance of septic systems.
- Effective and Preventative Maintenance: Regular use of Bio-Clean not only clears existing clogs but can also prevent future blockages by continuously breaking down organic material in your drains, keeping them clear over time.
Using Bio-Clean in Kitchens and Laundry Rooms
- Kitchens: Apply Bio-Clean in kitchen sinks to tackle grease, food particles, and other organic matter that can lead to clogs. It's also beneficial for maintaining garbage disposal units and dishwasher drains.
- Laundry Rooms: Use Bio-Clean in laundry room drains to break down lint, fabric softener residue, and organic materials from dirty clothes that can accumulate in the plumbing.
Application Tips
- Follow Instructions: For best results, follow the product instructions carefully. Typically, you'll need to mix a specified amount of Bio-Clean with water and pour it down the drain, allowing the bacteria and enzymes time to work.
- Regular Maintenance: Incorporate Bio-Clean into your regular home maintenance routine. Applying Bio-Clean monthly can help keep your drains flowing smoothly and prevent clogs from forming.
- Overnight Treatment: Apply Bio-Clean before going to bed or when drains won't be used for several hours, giving the bacteria and enzymes ample time to digest the organic waste.
Kitchen Remodeling
Initial Assessment and Planning
- Evaluate Existing Plumbing: Before any demolition or design work begins, assess the current state of your plumbing. Identify the locations of existing pipes, drains, and fixtures, and determine whether they meet the needs of your new layout or require reconfiguration.
- Professional Inspection: Consider hiring a licensed plumber to inspect your existing plumbing. They can identify potential issues, such as old or non-compliant piping materials, that could impact your remodel.
- Design with Plumbing in Mind: Early in the planning process, integrate plumbing considerations into your layout designs. This includes the placement of sinks, dishwashers, washing machines, and any new fixtures or appliances that require water supply or drainage.
Upgrades and Modifications
- Water Lines: Remodeling offers an opportunity to upgrade old water supply lines to newer, more durable materials, such as copper or PEX tubing, which can improve water quality and reduce the risk of leaks.
- Drainage System: Ensure that your remodel includes adequately sized and properly vented drain lines to handle the wastewater from sinks, dishwashers, and washing machines, preventing backflows and other drainage issues.
- Fixture and Appliance Installation: Choose high-quality fixtures and appliances that comply with current water efficiency standards. Consider the placement of these elements to optimize usability and maintenance access.
- Hot Water Supply: Assess whether your current hot water system can meet the increased demand, if applicable. You might need to upgrade your water heater or consider installing an on-demand hot water system for improved efficiency.
The Master Plumbers at Able Plumbing are trained to the highest standards, friendly, courteous, and most of all, committed to keeping your home, facility, or business in great repair and safe. We are fully licensed, bonded, and insured. We offer a great service guarantee and convenient hours for all your plumbing needs!!
Plumbing Services
Have a question or comment? Let us know.
Telephone:
Email us:
Home Office:
551 Country Drive Ste 150
Chico, CA 95928
Contractors License:
CA License #627760 Bonded and Insured
Have a question or comment? Let us know.
Telephone:
Email us:
Home Office:
551 Country Drive Ste 150
Chico, CA 95928
Contractors License:
CA License #627760 Bonded and Insured
Able Home Services
Privacy & Terms
