Quick Category Links
Water Line Problems? You're Not Alone When You Have Able Plumbing On Your Side!! Depend On Us To Solve It And Get Your Water Flowing Right!
When it comes to repairing, replacing, and maintaining water lines in your home, look here or to us learn some tips, advice, and do it yourself remedies. If the service required goes beyond your comfort levels, you can always reach out to us within a few quick button presses!
How Do You Know If You Have A Leak In the Wall or Underground?
It can be a serious problem that can cause water damage, mold growth, and high water bills. There are several ways to detect a leaking pipe, depending on the situation and the tools available. Here are some of the possible methods:
- Be observant. If you see any unusual moisture in the home, especially where walls, floors and/or ceilings meet, that can be a sign of a leaking water pipe (or even a leaking drain pipe).
- Use a wall scanner or a stud finder. These devices can scan the wall and locate pipes, wires, and studs behind it. Some can also detect changes in density or moisture that may indicate a leak. You can buy or rent a wall scanner or a stud finder from a hardware store or online.
- Use a borescope camera. This is a small camera attached to a flexible wire that can be inserted into a small hole in the wall and provide a live video feed of the inside. You can use this to inspect the pipes and fittings behind the wall and look for signs of leaks, such as corrosion, cracks, or drips. You can buy or rent a bore scope camera from a hardware store or online.
- Watch the meter. If you have access to your water meter, you can also observe if there is a movement in the wheel while all fixtures are in the off position to determine if there is a possible leak in your system. Alternatively, if you notice that your water bill is higher than normal, this could indicate a leak as well.
Function of Water Pressure Regulators
A water pressure regulator is a valve that automatically adjusts the incoming water pressure from the city mains to a safe level before it enters your home's plumbing. These devices are typically installed where the main water line enters the house and can be set to maintain a specific pressure level, usually between 40 and 60 pounds per square inch (psi), which is ideal for most residential plumbing systems.
Benefits of Installing a Water Pressure Regulator
- Prevents Pipe Damage: Excessively high water pressure can stress pipes, leading to leaks, bursts, and costly repairs. A regulator keeps pressure at a manageable level, prolonging the lifespan of your plumbing.
- Protects Appliances and Fixtures: Appliances such as washing machines, dishwashers, water heaters, and fixtures like toilets and faucets can suffer from high-pressure conditions, resulting in leaks, drips, and malfunctions. Regulating water pressure helps ensure these items operate efficiently and last longer.
- Conserves Water and Reduces Bills: By preventing water from flowing through your system at an unnecessarily high rate, a pressure regulator can help reduce overall water usage, leading to lower utility bills and contributing to environmental conservation.
- Enhances Overall Plumbing System Efficiency: Consistent water pressure ensures that your plumbing system functions as designed, providing a steady flow of water without the risk of pressure surges or drops that can disrupt service.
Common Causes of Rusty or Discolored Water
- Corrosion in Pipes: Older homes with iron or steel pipes are prone to corrosion over time, leading to rust particles being released into the water, especially if the water has a high acidity or low mineral content.
- Water Heater Issues: Sediment buildup or corrosion inside the water heater tank can release rust particles into the hot water supply, noticeable when using hot taps.
- Municipal Water Supply Problems: Changes in water source, pipeline repairs, or disturbances in the main supply can introduce rust and sediment into the water delivered to your home.
- Galvanic Corrosion: This occurs when pipes made from two different metals, such as galvanized steel and copper, are connected without a proper dielectric union, accelerating corrosion at the connection point.
Solutions for Rusty or Discolored Water
- Identify the Source: Determine if the discoloration occurs with both hot and cold water. If it's only in hot water, the issue likely lies with the water heater and/or the pipes. If both are affected, the problem could be in the pipes and/or the water supply.
- Flush the System: If the issue is temporary, such as after municipal work on water lines, flushing your home's system by running cold water through all taps for several minutes may clear the discoloration.
- Inspect and Replace Pipes: For homes with old or corroded pipes, an inspection by a professional plumber can identify problem areas. Replacing old pipes with copper or PEX tubing can eliminate the risk of rust.
- Water Heater Maintenance: Regularly flushing the water heater tank to remove sediment and checking the anode rod for corrosion can prevent rusty hot water. Consider professional servicing or replacement if the heater is old or heavily corroded.
- Install Filtration Systems: Whole-home or point-of-use water filters can remove rust particles and other contaminants from your water, improving quality and clarity.
- Consult with the Water Supplier: If you are on City Water, the problem could originate from the municipal supply. Contact your water district for information and assistance. They may provide timelines for resolution or recommend steps to mitigate the issue.
Understanding Backflow
Backflow occurs when the normal direction of water flow reverses due to changes in water pressure, potentially allowing contaminated water to enter the clean water supply. This can happen for two main reasons:
- Backpressure: When the pressure in a non-potable system exceeds the pressure in the potable system, often due to pumping or heating.
- Backsiphonage: A sudden drop in the water supply pressure—like from a water main break or heavy demand—can create a vacuum, pulling contaminated water into the potable system.
Common Sources of Backflow Contamination
- Irrigation Systems: Lawn chemicals and fertilizers can enter through sprinkler heads.
- Swimming Pools: Water from pools, filled with chemicals for treatment, can backflow into the home's water lines.
- Hose Bibs: Garden hoses submerged in pools, buckets, or connected to chemical sprayers without proper backflow protection.
- Boilers: Heating systems that use water can introduce contaminants if not properly separated from the drinking water supply.
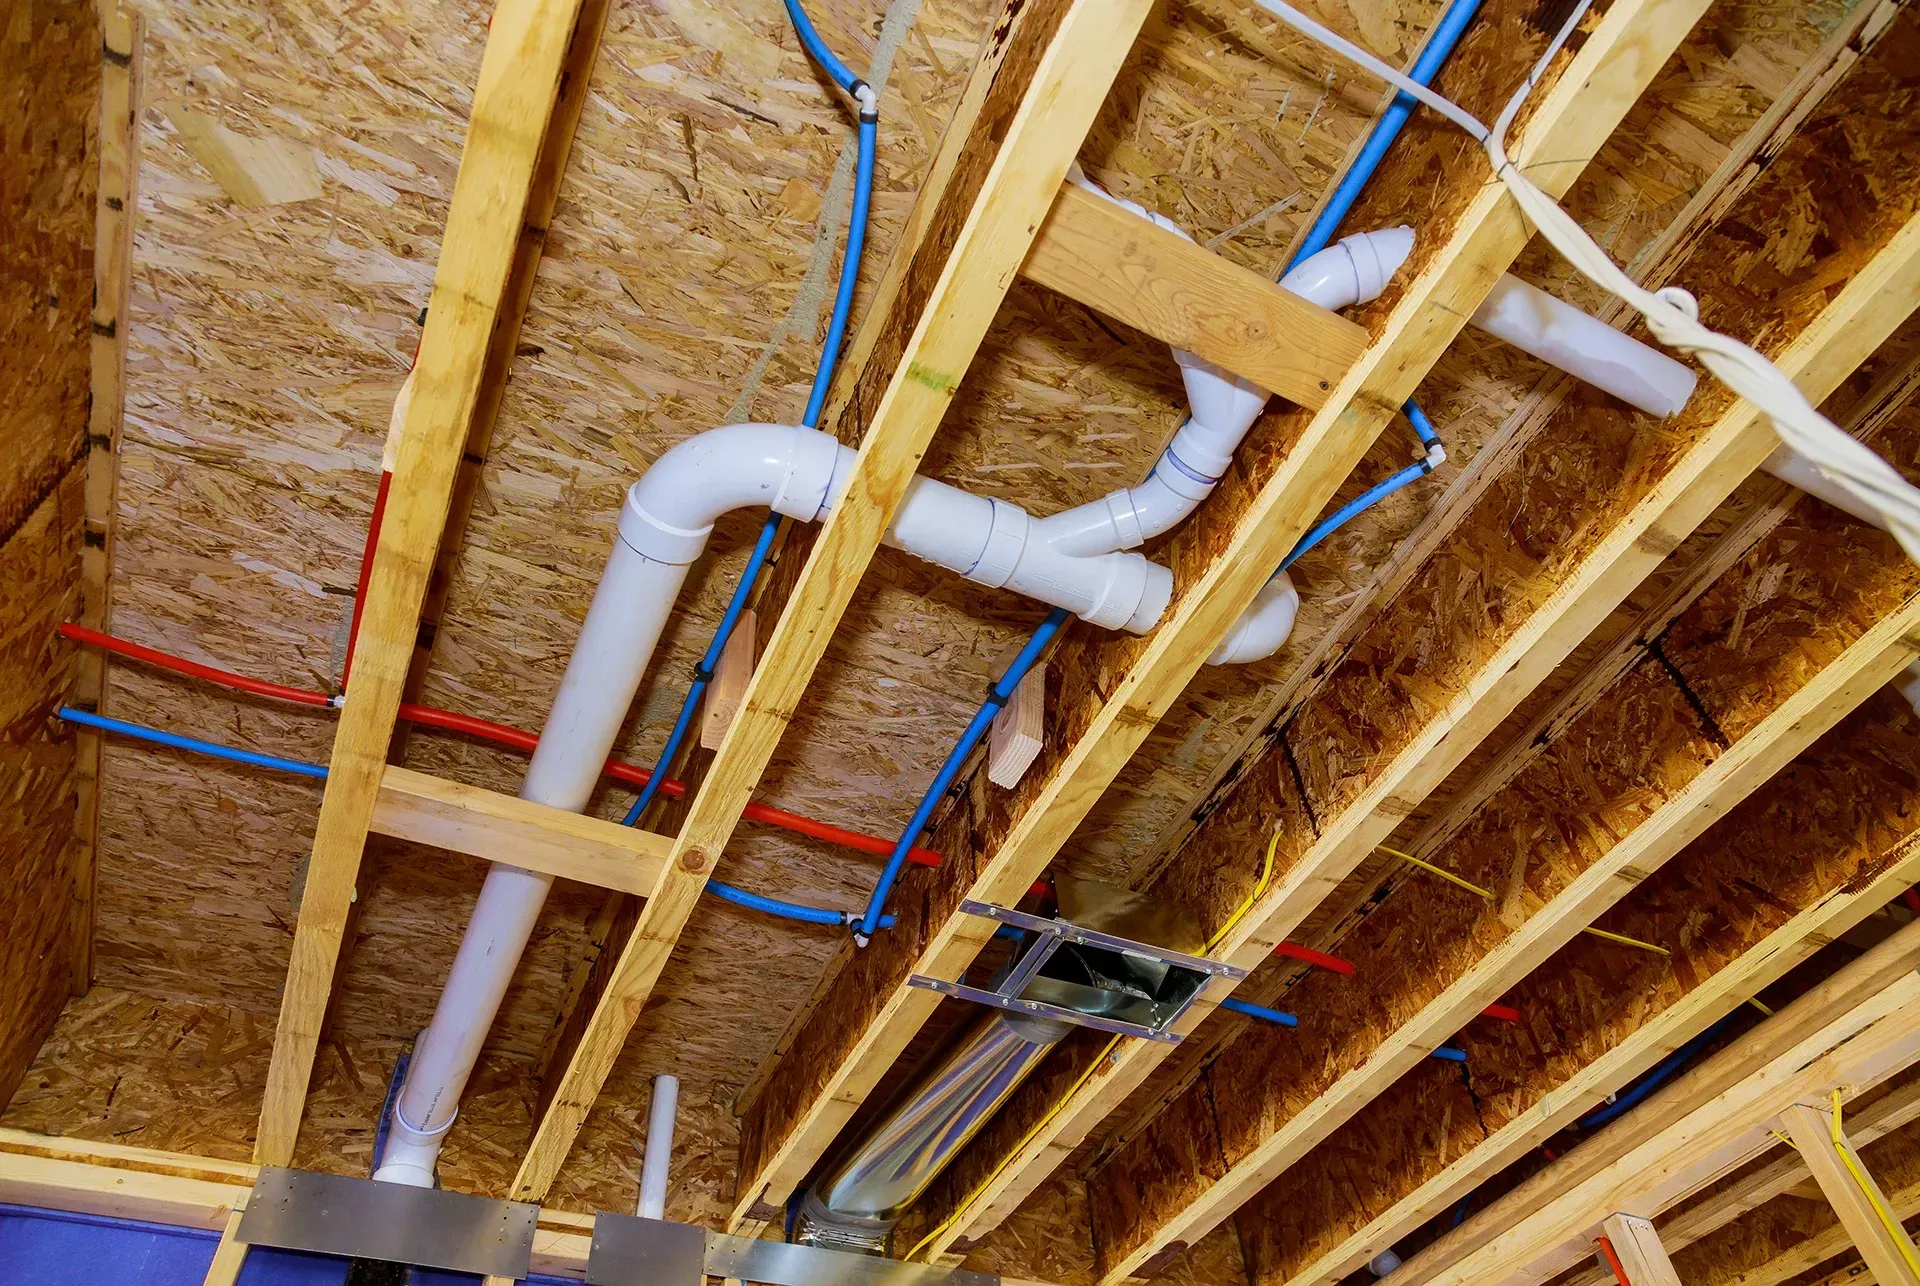
Understanding the Need for Re-Piping
Several factors may necessitate a re-pipe of your property, including:
- Age of Plumbing: Older homes with original plumbing are prime candidates, especially if the pipes are over 30 years old or older.
- Pipe Material: Homes with pipes made from galvanized steel, lead, or polybutylene are at risk due to corrosion, lead contamination, or material failure.
- Frequent Leaks: Regular leaks indicate systemic problems that patch repairs may no longer address effectively.
- Poor Water Pressure/Quality: Reduced water pressure or discolored water can signal corroding pipes that restrict flow and leach into the water.
Planning Your Re-Pipe Project
- Professional Inspection: Begin with a thorough plumbing inspection by a licensed professional to assess the current system's condition and identify the need for a re-pipe.
- Choosing Materials: Modern plumbing uses durable materials like copper, PEX (cross-linked polyethylene), and CPVC (chlorinated polyvinyl chloride). Each has its benefits and suitability for different homes and needs. Check with your plumber to see what would work best for you!
- Obtaining Permits: Re-piping is a significant modification that typically requires permits from local building authorities to ensure the work meets current building codes.
- Budgeting: The cost of re-piping can vary widely based on the size of your home, the complexity of the job, and the materials chosen. Obtain detailed estimates from several contractors to understand the financial commitment. And with Able Plumbing, the price we give you will NOT be an estimate. We don't believe in giving a low price to get the job and then charging more afterwards, so we take into account everything in a specific job and provide an accurate price quote that we stand behind!
What is Pex Piping and Why is it Good?
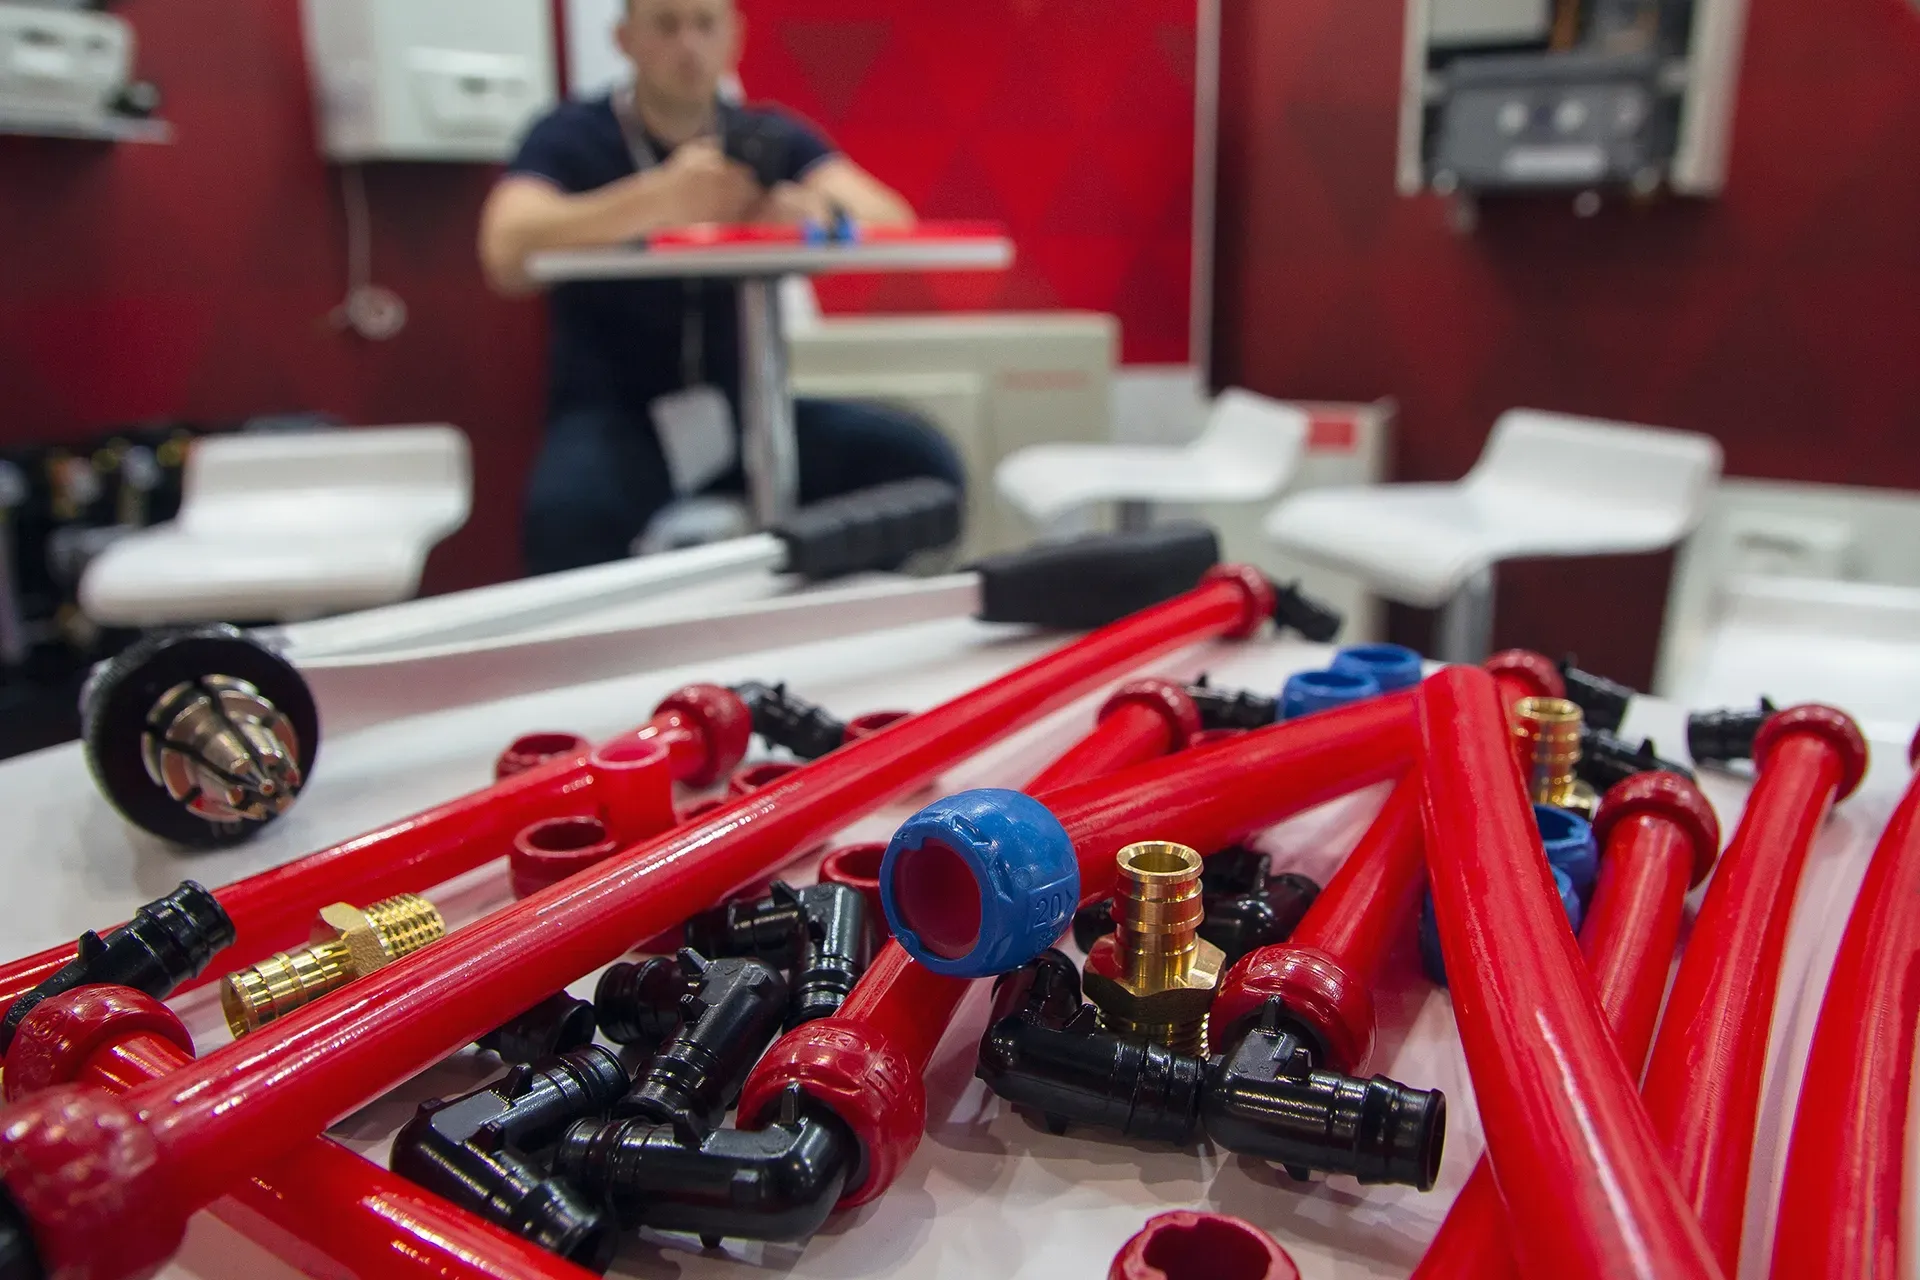
PEX piping, short for cross-linked polyethylene, is a flexible plastic tubing that has revolutionized residential plumbing.
Flexibility and Durability:
- PEX is highly flexible, making it easy to work with during installations.
- Unlike rigid copper pipes, PEX won’t crack or burst when exposed to freezing temperatures.
- Its chemical structure ensures durability, resisting cracks and high temperatures.
- Whether for small repairs or entire water supply systems, PEX comes in various lengths, from short pieces to rolls of 500 feet.
In summary, PEX combines flexibility, affordability, and efficiency of installation, making it an excellent choice for modern plumbing systems.
How Long Should My Copper Pipes Last?
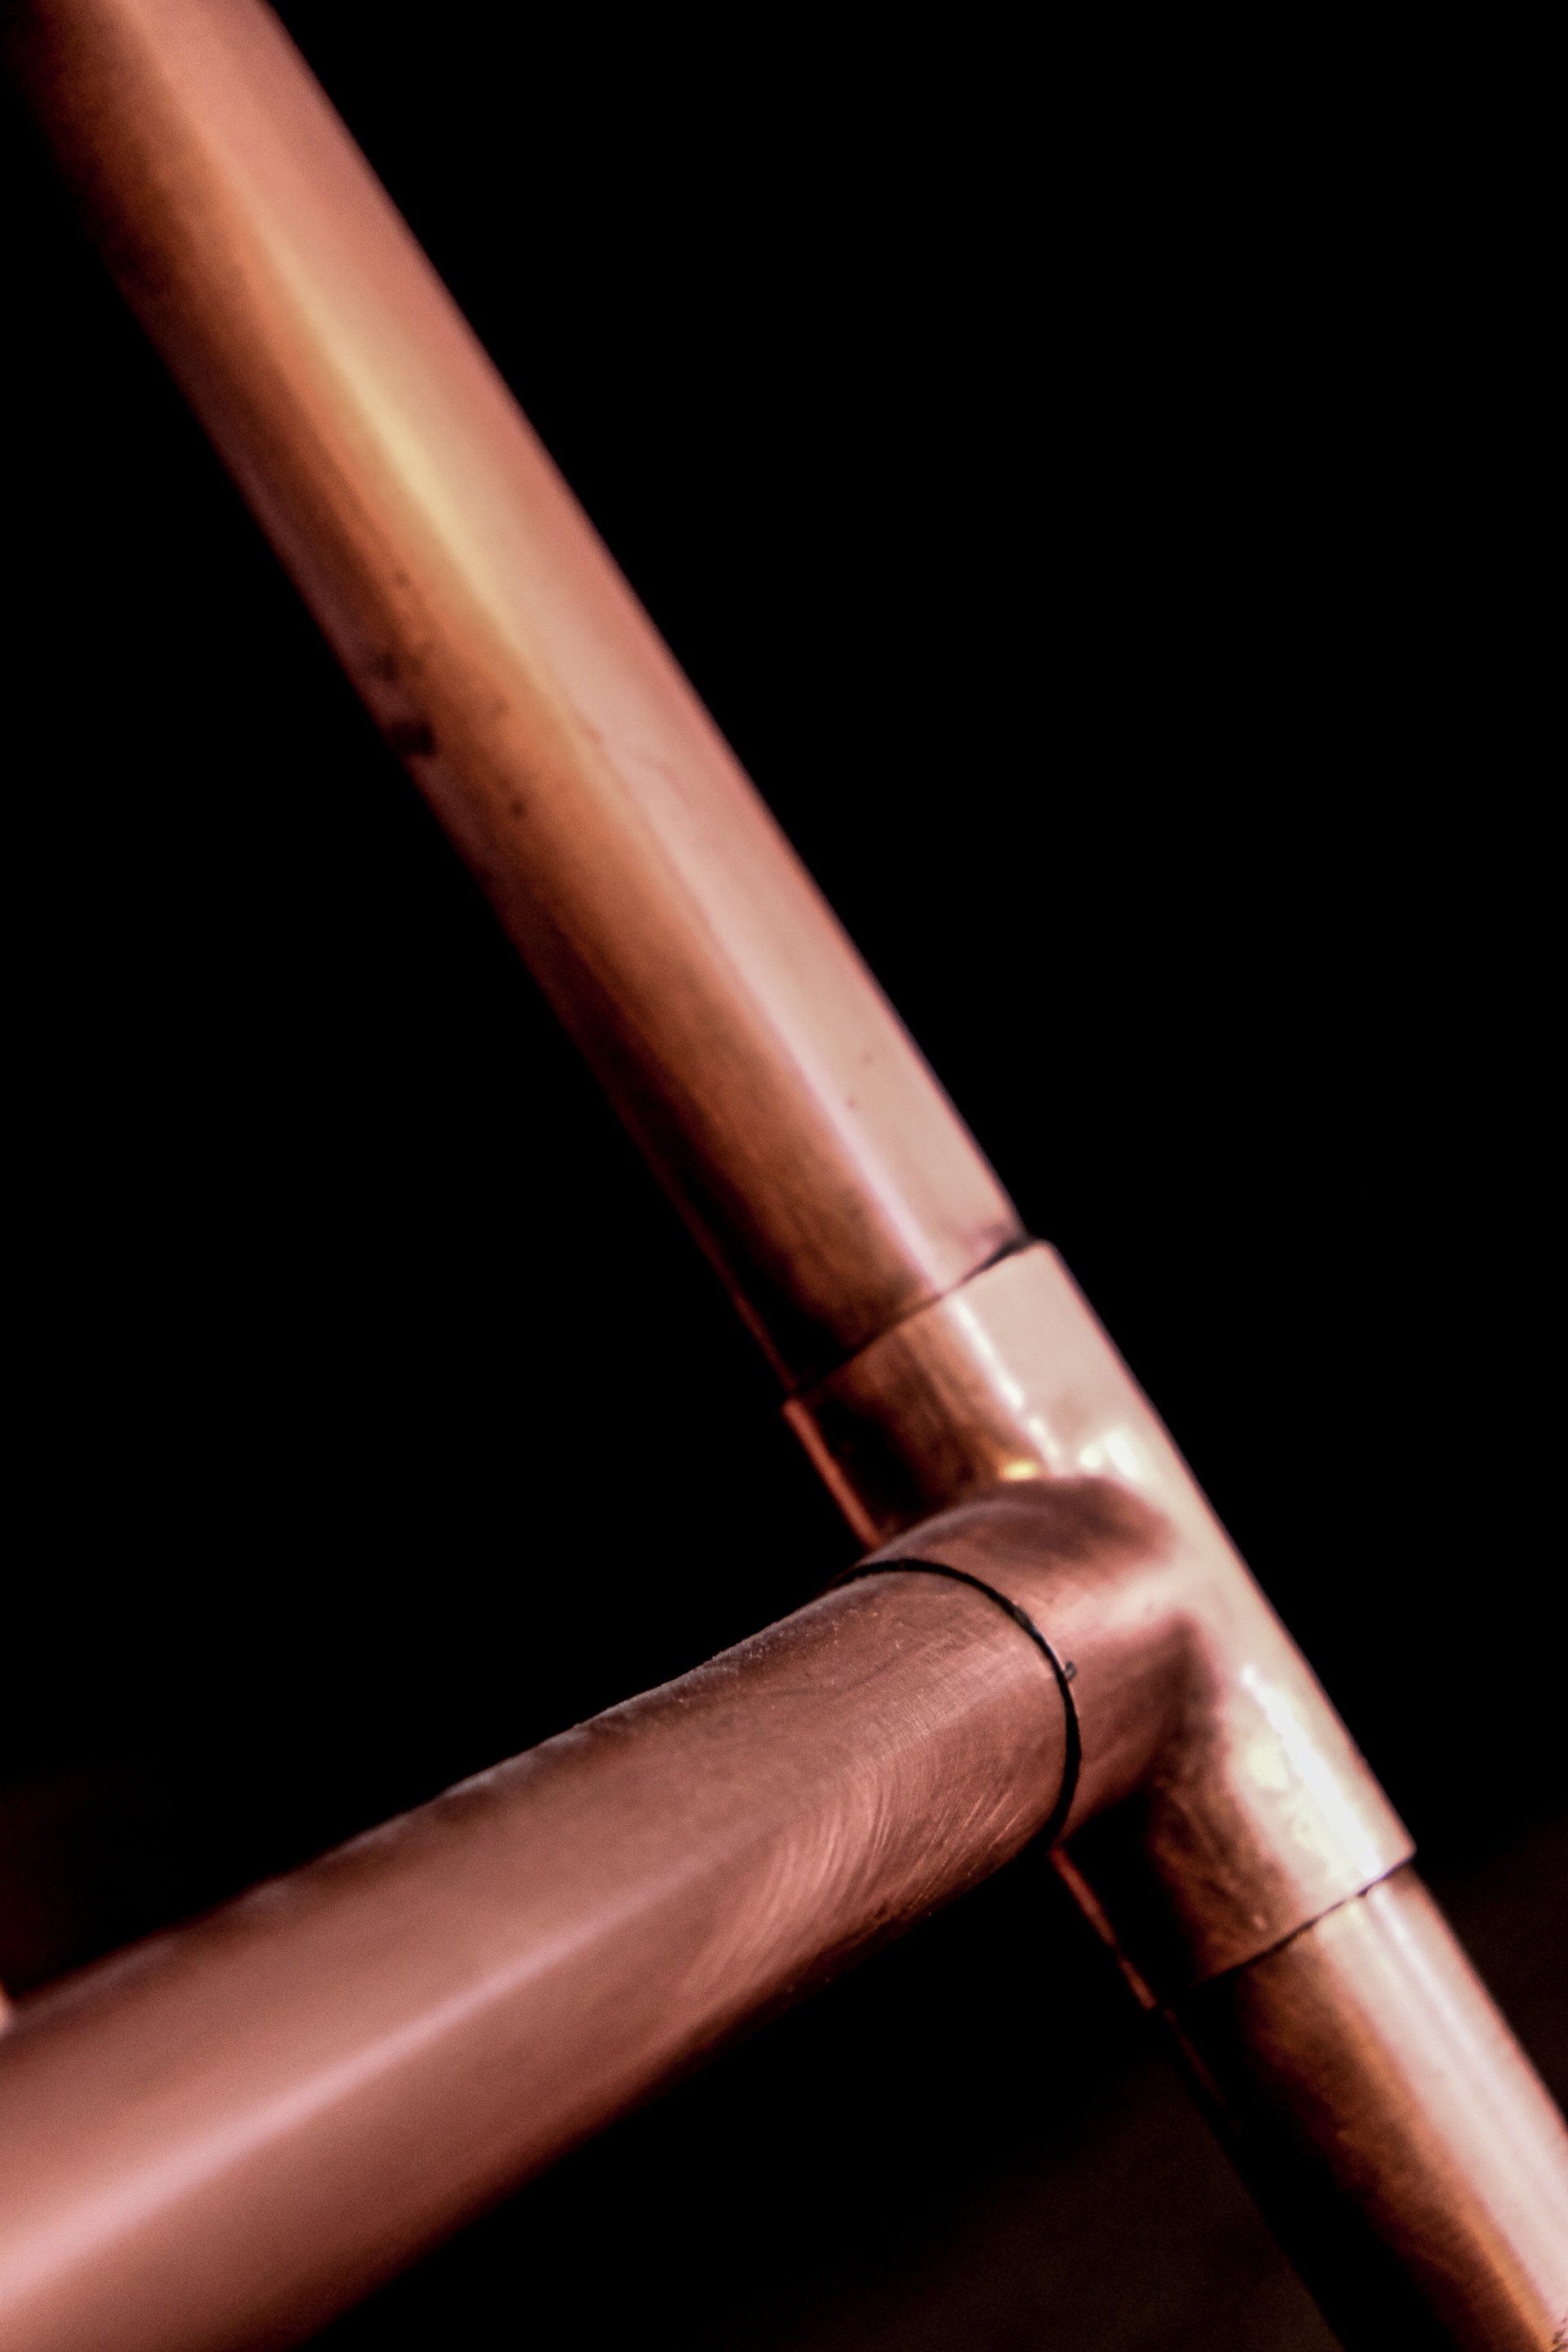
Copper pipes have been a staple in residential plumbing for decades. Their durability, corrosion resistance, and versatility make them a popular choice. But how long can you expect your copper pipes to last?
1. Types of Copper Pipes
- Type-M: These are the thinnest copper pipes, commonly used for residential plumbing (mostly in irrigation). Officially, their lifespan is around 50 years, but reality often paints a different picture. M-Type pipes, exposed to acidic water, tend to corrode faster. As they have thin walls thus, they are prone to tearing and developing pinhole leaks. In practice, M-Type pipes may not last more than 10 to 20 years.
- Type-L: Thicker and more durable, L-Type copper pipes offer a longer life expectancy. Their official lifespan is also around 50 years, but many L-Type pipes exceed this. Some have been known to last over 100 years! Investing in L-Type pipes ensures peace of mind. One of the exceptions to this is if your water is acidic which can impact any copper line and shorten its life expectancy.
- Type-K: These robust pipes can last 100 years or more. Their longevity makes them a reliable choice for plumbing systems.
2. Factors Influencing Lifespan
- Water Quality: Acidic water accelerates copper corrosion. If your water has low pH levels, M-Type pipes may suffer. L-Type and K-Type pipes handle water quality better than M-Type copper.
- Climate and Exposure: Extreme temperatures and corrosive substances impact copper pipes. Proper insulation and protection matter. An example of this is when temperatures get low enough to freeze the water in the pipes, they can burst from the pressure.
- Maintenance: Regular inspections and addressing issues promptly can help to extend life of copper pipes.
-
3. Practical Tips
- Replace When Needed: Keep an eye out for pinhole leaks or signs of aging. If your pipes are nearing the end of their lifespan, consider replacement.
- Consider L-Type: For the safety of your property and to minimize the possibility of water damage, you should opt for L-Type pipes whenever possible. Their longevity justifies the investment.
- Consult Professionals: When in doubt, consult a plumbing expert like the ones you'll find at Able Plumbing. Click or Call to set up an appointment with us.
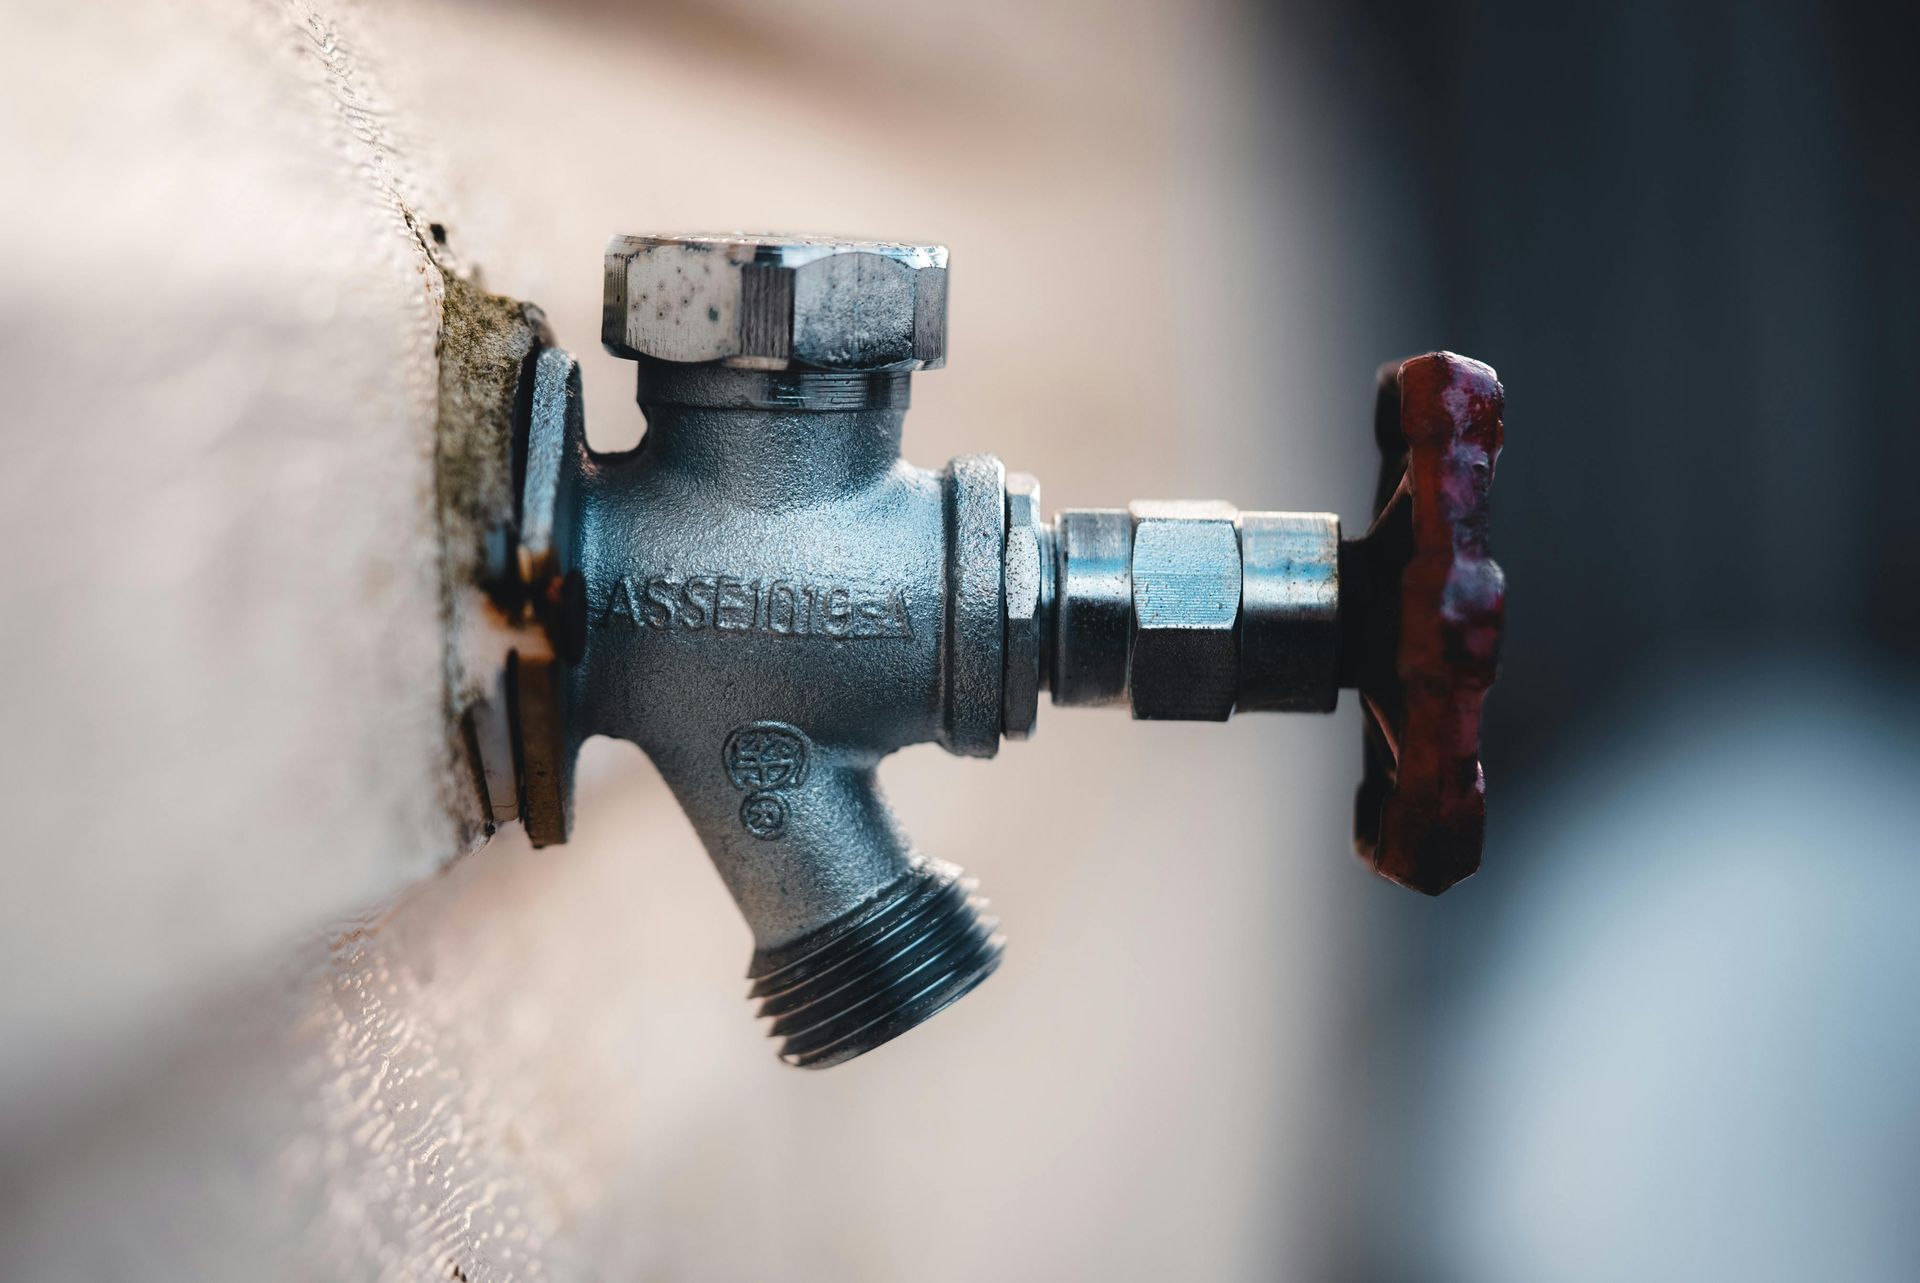
Hose Bibbs
A hose bibb is a valve designed for outdoor use, allowing you to control the flow of water outside the home. They come in various designs, including standard, frost-proof, and anti-siphon models, each suited to different climates and needs.
Types of Hose Bibbs:
- Standard Hose Bibbs are basic models suitable for mild climates where freezing temperatures are not a concern.
- Frost-Proof Hose Bibbs are designed for cold climates, featuring a long stem that shuts off water inside the house, preventing freezing and bursting.
- Anti-Siphon Hose Bibbs include a vacuum breaker that prevents contaminated water from backflowing into the clean water supply, crucial for protecting water quality.
- Material: Hose bibbs are typically made from brass, bronze, or stainless steel, materials known for their durability and resistance to corrosion and wear.
Installation Considerations:
- Location: Choose a location that provides easy access for your outdoor water needs while ensuring the hose bibb can be connected to the water line without excessive strain.
- Protection Against Freezing: In colder climates, ensure that hose bibbs are either frost-proof or properly insulated against freezing temperatures.
- Backflow Prevention: Incorporate backflow prevention devices, such as anti-siphon valves or vacuum breakers, to protect your water supply from contamination.
Maintenance Tips
- Regular Inspection: Check hose bibbs seasonally for leaks, corrosion, or damage, and ensure that they operate smoothly.
- Winterization: Before the first freeze, disconnect hoses, drain water from the bibb, and, if not frost-proof, shut off the interior valve supplying water to the bibb and drain the remaining water.
- Repair and Replacement: At the first sign of leaks or wear, repair or replace parts as necessary. For frost-proof hose bibbs, ensure the stem washer and O-ring are in good condition to prevent leaks.
How Do You Run New Water Lines In a House?
Running a new water service line from the main supply to your home is a significant project that requires careful planning, the right tools, and some expertise.
Our Method For Running Water Lines:
Each job will have unique variations, but generally, what can be expected is excavating a trench from the street to your home to access, lay, or remove the water service line. While it may be more straightforward and potentially less costly upfront, it can cause significant disruption to your landscaping and require substantial restoration afterward so keep this in mind.
Steps to Install a New Water Service Line
1. Obtain Necessary Permits:
Before beginning the installation, consult your local building department to secure any required permits and ensure compliance with local codes.
2. Turn Off the Water Supply
Shut off the main water supply valve to prevent any water flow during the installation process.
3. Determine the Installation Method:
Choose between digging and backfilling or trenchless installation, depending on your specific needs, budget, and property conditions.
4. Select the Pipe Material:
Common options include copper, PEX, or PVC pipes. Each material has its advantages, such as durability, flexibility, or cost-effectiveness, so select the one that best suits your project requirements.
5. Excavate or Drill:
If using the digging method, excavate a trench from the street to your home. For trenchless installation, drill access points at both ends.
6. Install the Water Service Line:
Lay the pipe in the trench or pull it through using trenchless methods. Ensure all connections are secure and properly fitted.
7. Test for Leaks:
Before finalizing the installation, turn the water back on to test the new line for leaks. Address any issues promptly.
8. Restore the Property:
Once the line is securely installed and tested, backfill the trench or close the access points. Restore any landscaping or structural elements disturbed during the installation.
- Installing a new water service line is a critical task that, when done correctly, ensures a reliable and safe water supply to your home. While some homeowners may attempt this as a DIY project, it's often wise to consult with or hire a professional to ensure the job is done to code and without issues.
Understanding Isolation Valves
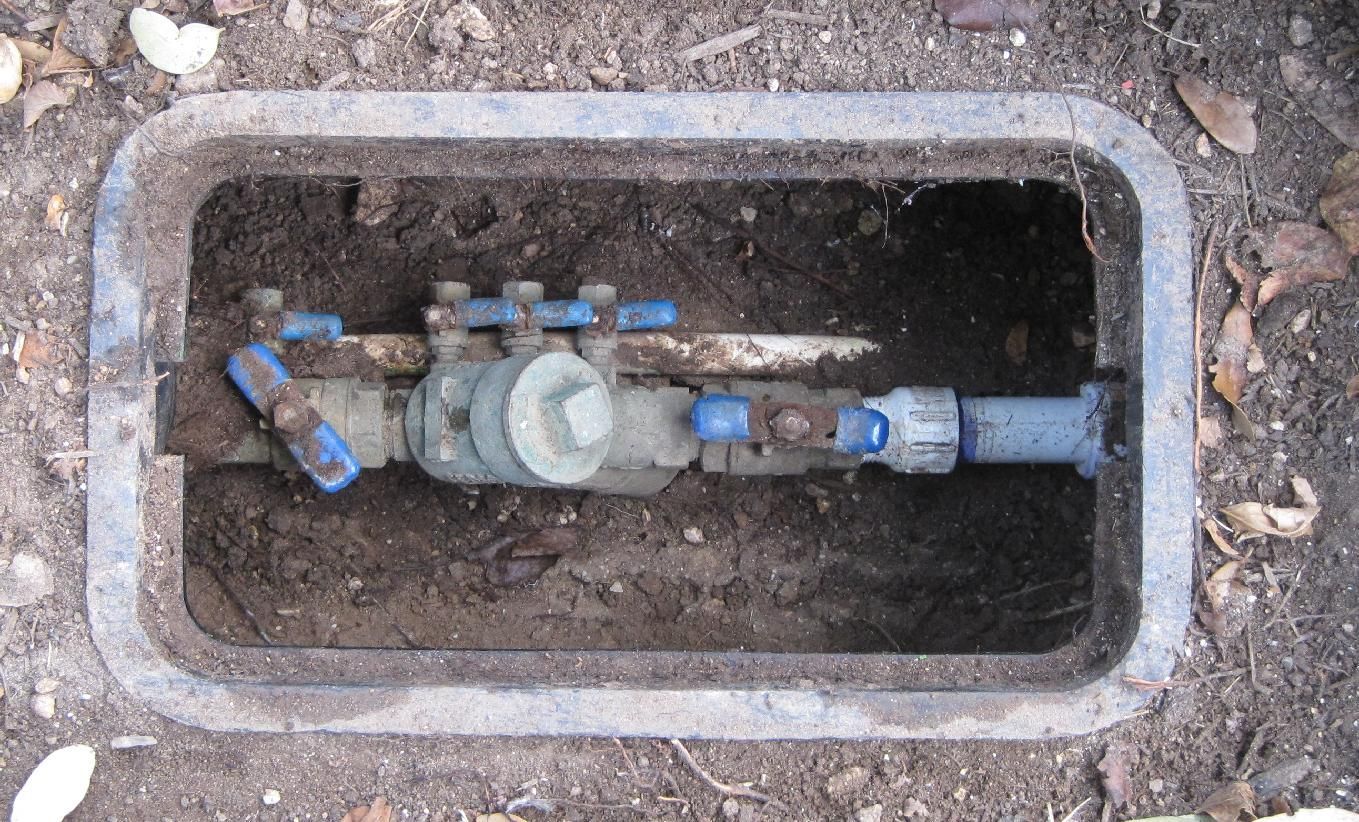
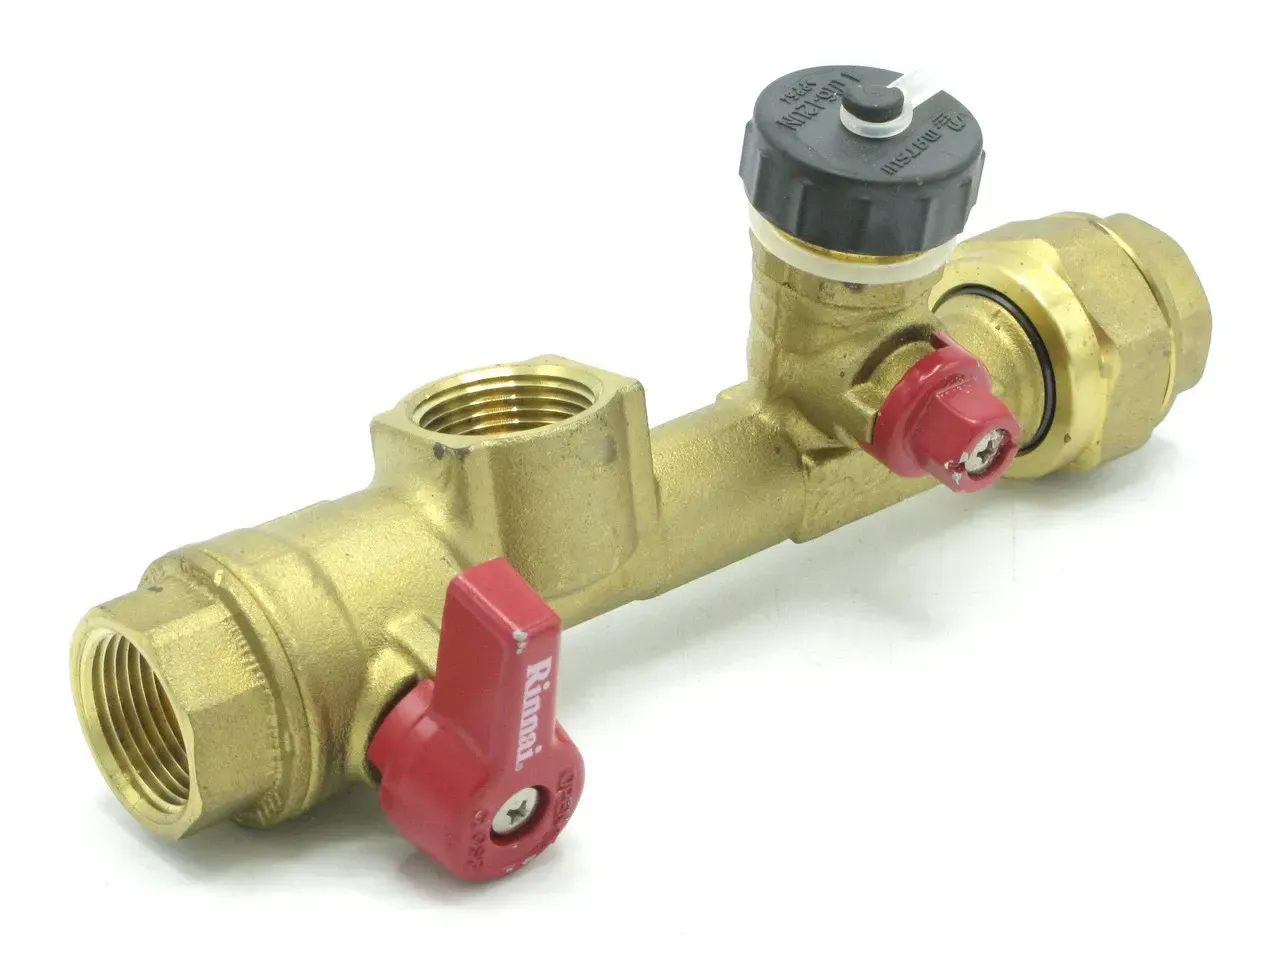
Isolation valves are designed to isolate sections of a plumbing system, allowing for water flow to be stopped to certain areas or fixtures for ease of maintenance and/or repair without disrupting the entire property.
Types of Isolation Valves
Several types of isolation valves are commonly used in home plumbing systems, each suited for different applications:
- Ball Valves: Known for their reliability and durability, ball valves use a rotating ball with a hole through the middle to control water flow. They are ideal for applications requiring a full shut-off and are often used for main water shut-offs and branch line isolation.
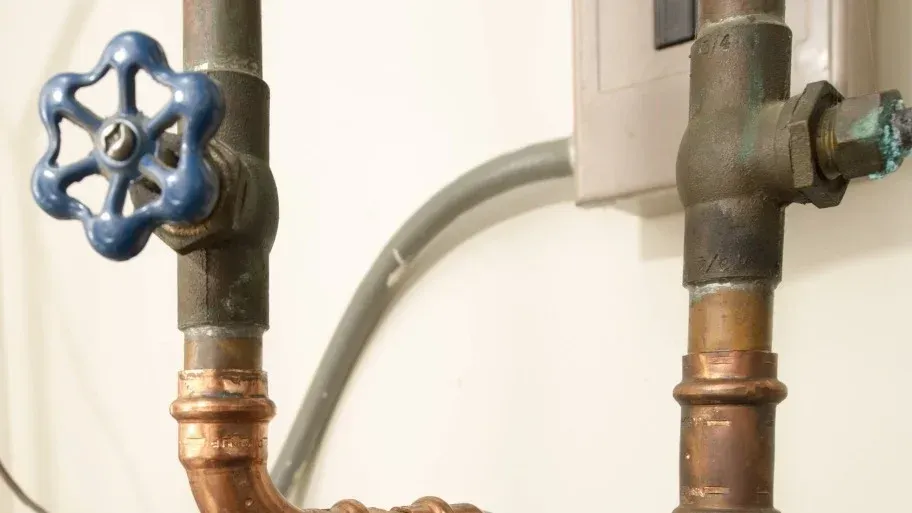
- Gate Valves: These valves use a metal gate to open or close the flow of water. While effective for isolation purposes, they are less preferred due to their propensity to seize when not used regularly.
- Globe Valves: Designed for regulating flow, globe valves offer more precise control but are not typically used for complete isolation due to their design, which doesn't allow for full water flow even when fully open.
- Stop Valves: Also known as stop cocks or service valves, these are commonly used to control the water supply to individual fixtures, such as toilets, sinks, and washing machines.
Shut Off Valves
Shut off valves are designed to stop the flow of water into a home's plumbing system from the municipal water supply or private well, in these scenarios they are also known as isolation valves. They can also be used to shut off the water supply to a given fixture such as a toilet or faucet to allow for maintenance, repairs or replacement.
Types of Shut Off Valves
- Gate Valve: Used to isolate parts of a water system, gate valves feature a wheel handle that, when turned, lowers a metal gate to block water flow. They provide a reliable seal but can be prone to seizing if not operated regularly.
- Ball Valve: Used to isolate parts of a water system, ball valves are identified by a lever handle that turns 90 degrees to open or close the valve. They are less likely to seize than gate valves and provide a quick means of shutting off water.
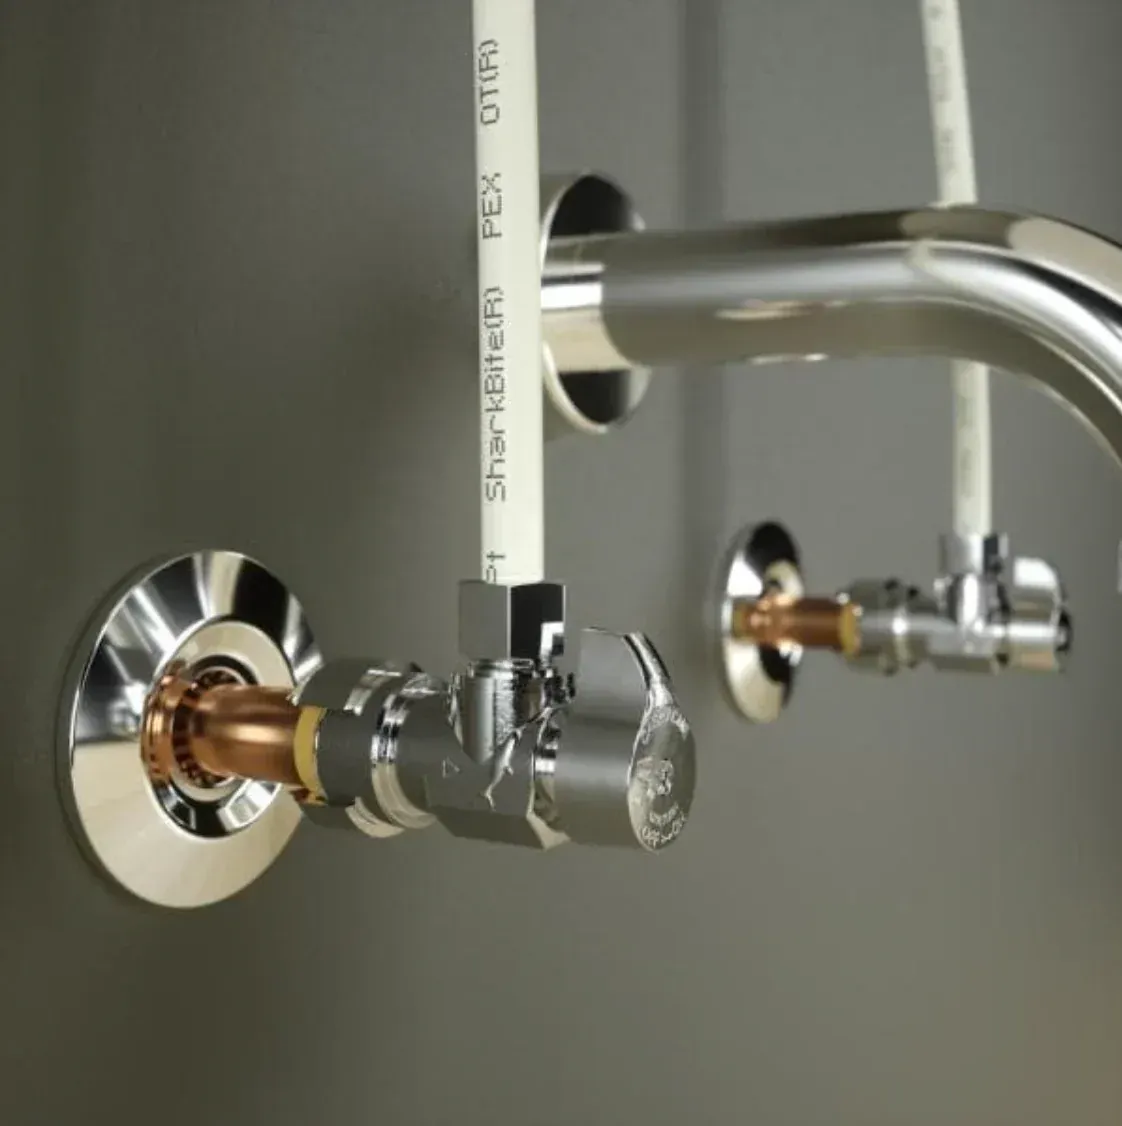
- Angle Stops: Used at fixtures, angle valves are used where the outlet is at a 90-degree angle from the supply line. Angle valves are used on supply lines that come from the wall.
- Straight Stops: Used at fixtures, these are used when the inlet and outlet are aligned. Straight valves are typically found where the supply line comes through the floor.
Locating the Water Shut Off to Your Home or Business
- In Cold Climates: The valve is typically located inside the home to prevent freezing. Common locations include the basement, utility area, or near the water heater.
- In Warmer Climates: The shut off valve may be outside, often near the foundation or where the water line enters the home. It may be covered by a utility box.
- Utility Meter: In some cases, an additional shut off valve is located near the water meter, which may be useful if the main valve is inaccessible or inoperable.
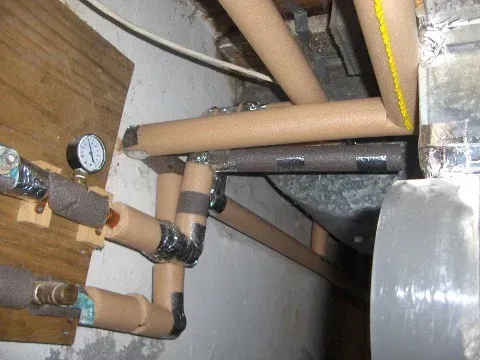
Benefits of Water Line Insulation
- Prevention of Frozen Pipes: Insulation keeps water lines above freezing temperatures, reducing the risk of pipes bursting due to ice formation.
- Energy Efficiency: By minimizing heat loss, insulated hot water lines maintain water temperature longer, lowering energy costs associated with heating water.
- Condensation Control: Insulating cold water lines prevents condensation in humid conditions, which can lead to water damage or mold growth around pipes.
- Noise Reduction: Insulation can also dampen the noise of water movement, particularly in high-pressure systems or when hot water causes pipes to expand.
Types of Insulation Suitable for Water Lines
- Foam Pipe Insulation: Available in tubes with a slit on one side for easy installation, foam insulation is popular for its flexibility and ease of use. It's suitable for both hot and cold water lines and comes in various diameters to fit different pipe sizes.
- Fiberglass Pipe Insulation: This type offers superior thermal protection and is often used in commercial applications or high-temperature environments. It's more rigid than foam and can be more challenging to install.
- Rubber Pipe Insulation: Offering excellent thermal resistance and durability, rubber insulation is ideal for areas where space is limited or where pipes are exposed to sunlight or chemicals.
Types of Irrigation Lines
- Drip Irrigation Lines: Ideal for precise watering near plant roots, drip lines reduce water wastage by slowly releasing water directly to the soil. They are perfect for garden beds, vegetable patches, and densely planted areas.
- Sprinkler Lines: Used in systems that spray water over a wide area, sprinkler lines are suitable for lawns and large garden areas. They can be customized with various sprinkler heads for different spray patterns and coverage.
- Soaker Hoses: These porous hoses allow water to seep out along their length and are laid on or under the soil surface. While not technically hard lines, they serve a similar purpose for efficient, targeted watering.
Installation Considerations
- Water Pressure and Flow: Before installation, assess the water pressure and flow rate available in your system. This will determine the type and layout of irrigation lines that can be supported without overburdening the system.
- Zoning: Divide your landscape into zones based on plant type, sunlight exposure, and soil conditions. Each zone may require different amounts of water, influencing the layout and type of irrigation lines used.
- Depth and Protection: Install lines at an appropriate depth to protect them from damage due to foot traffic, roots, or freezing temperatures. Using protective sleeves or conduit for vulnerable sections can prolong their lifespan.
